
Bathroom Makeup Bag Organization Ideas for Renters
Organize a bathroom makeup bag with clearer categories, fewer duplicates, and renter-friendly routines that keep daily products easier to find.
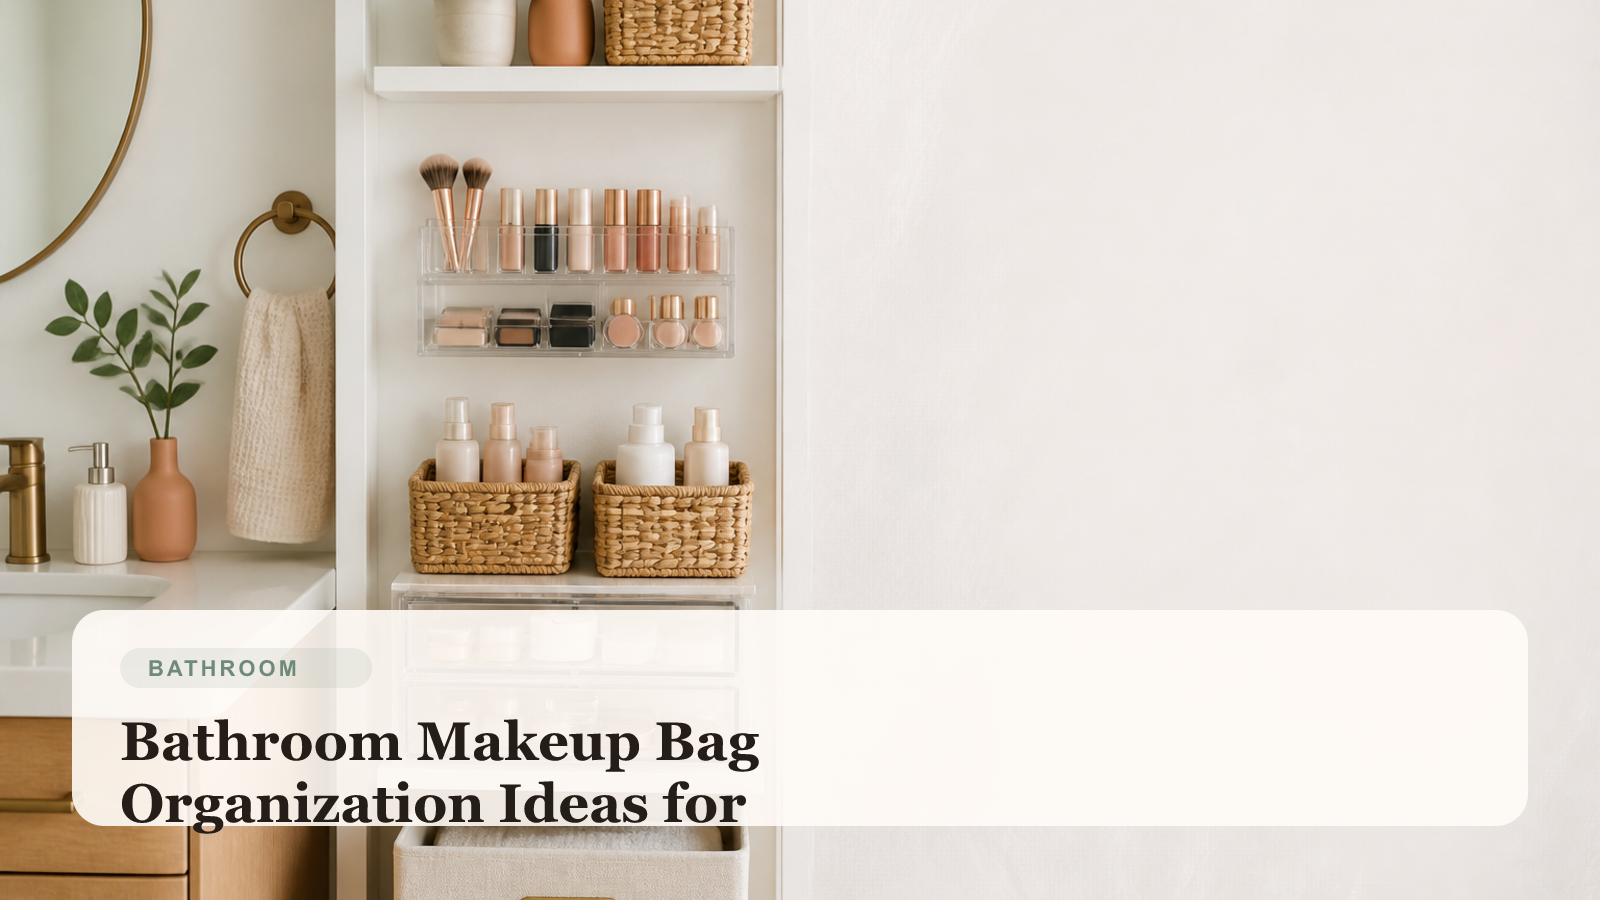
Quick takeaways
- A makeup bag works better when daily products are separated from backups and occasional items.
- Small pouches or sections prevent beauty items from becoming one mixed clutter pocket.
- Editing duplicates matters as much as choosing the right bag.
- A quick weekly reset keeps the bag usable instead of overstuffed.
A makeup bag can save a small bathroom or quietly make it more frustrating. When it is organized well, it keeps daily beauty products contained and portable. When it is overloaded, it becomes a soft clutter zone where lip products, brushes, samples, and half-used items all disappear into one messy pile.
That is why makeup bag organization matters so much in a rental bathroom. A better setup makes routines faster, protects limited counter space, and helps you stop carrying around products you do not actually use.
This guide focuses on one specific search intent: bathroom makeup bag organization ideas for renters. The goal is to make your makeup bag lighter, easier to scan, and more realistic for a small-space routine.
Decide what the bag is meant to hold
The first step is being clear about the purpose of the bag. Some people need:
- one daily-use makeup bag
- one travel-ready beauty bag
- one pouch for occasional extras
What usually fails is trying to make one bag do all three jobs.
A strong everyday makeup bag usually holds:
- the products you reach for most days
- a few tools
- one or two emergency extras
It usually should not hold:
- backup stock
- old samples
- products for every possible look
- unrelated bathroom items
The more honest the role, the easier the bag is to organize.
Separate daily products from low-frequency products
One reason makeup bags get crowded is that occasional-use products stay mixed with everyday basics. That makes the bag harder to use even if the total number of items is not huge.
Try splitting products into:
- daily-use items
- occasional-use items
- refill or backup products
Only the first category needs to stay in the main bag full-time. The other items can move to a drawer, tray, or secondary pouch if needed.
This one decision often makes the biggest difference.
Group products by routine, not just by type
Some people organize beauty bags by product type only, but daily use is often easier when the layout reflects the order you use things.
For example:
- base products together
- eyes together
- lips together
- small tools in one contained section
This matters because the bag becomes easier to move through quickly instead of feeling like a random pile of individually sorted items.
Keep tools contained so they stop drifting
Brushes, tweezers, sharpeners, and small accessories create visual and physical clutter quickly inside soft bags.
They usually work better when:
- they stay in a slim side pouch
- they go in one inner pocket
- they share a small divider sleeve
The point is to stop them from sinking underneath product bottles and compacts, where they become harder to find and dirtier to use.
Reduce duplicates before adding more organizers
A makeup bag often feels disorganized because it is simply carrying too much:
- two nearly identical lip products
- several old minis
- backup mascara
- forgotten samples
Before buying more inserts or pouches, reduce what is inside. Editing the bag helps more than adding compartments to an already overstuffed setup.
Match the bag size to your actual routine
A larger bag is not always better. It can invite extra products that turn the category into portable overflow.
The best daily makeup bag is:
- large enough for the true routine
- small enough to create limits
- easy to wipe out
- structured enough that products do not collapse into one another
If the bag feels heavy or hard to scan, it is probably carrying more than it needs to.
Keep the bag connected to the bathroom setup
The bag itself is only one part of the system. It works best when the rest of the bathroom supports it:
- backup products stay elsewhere
- the counter has a small clear routine zone
- brushes and tools have a predictable home
When the bathroom and the makeup bag support each other, the whole routine becomes easier to manage.
Reset the bag before clutter gets sticky
Makeup bags collect crumbs, powder residue, old receipts, broken hair ties, and empty mini products quickly.
A short reset helps:
- remove products you did not use that week
- wipe spills or powder residue
- return tools to their section
- move backups out of the bag
- check expiration or condition on older products
This keeps the bag from becoming a category you avoid cleaning out.
What to avoid with makeup bag organization
Avoid:
- using one bag for daily use and backup stock
- overloading the bag with duplicates
- letting tools float loose
- carrying products you only use rarely
- choosing a bag so deep that items disappear into the bottom
The best bag feels edited, not maximized.
Final thought
Bathroom makeup bag organization for renters works best when the bag reflects a real daily routine instead of a fantasy version of every product you might want someday. A lighter product mix, a few clear groupings, and a weekly reset can make the whole category easier to use. When the bag stops functioning like a catchall, the bathroom routine feels faster and much less cluttered.
Keep reading
Related guides worth reading next
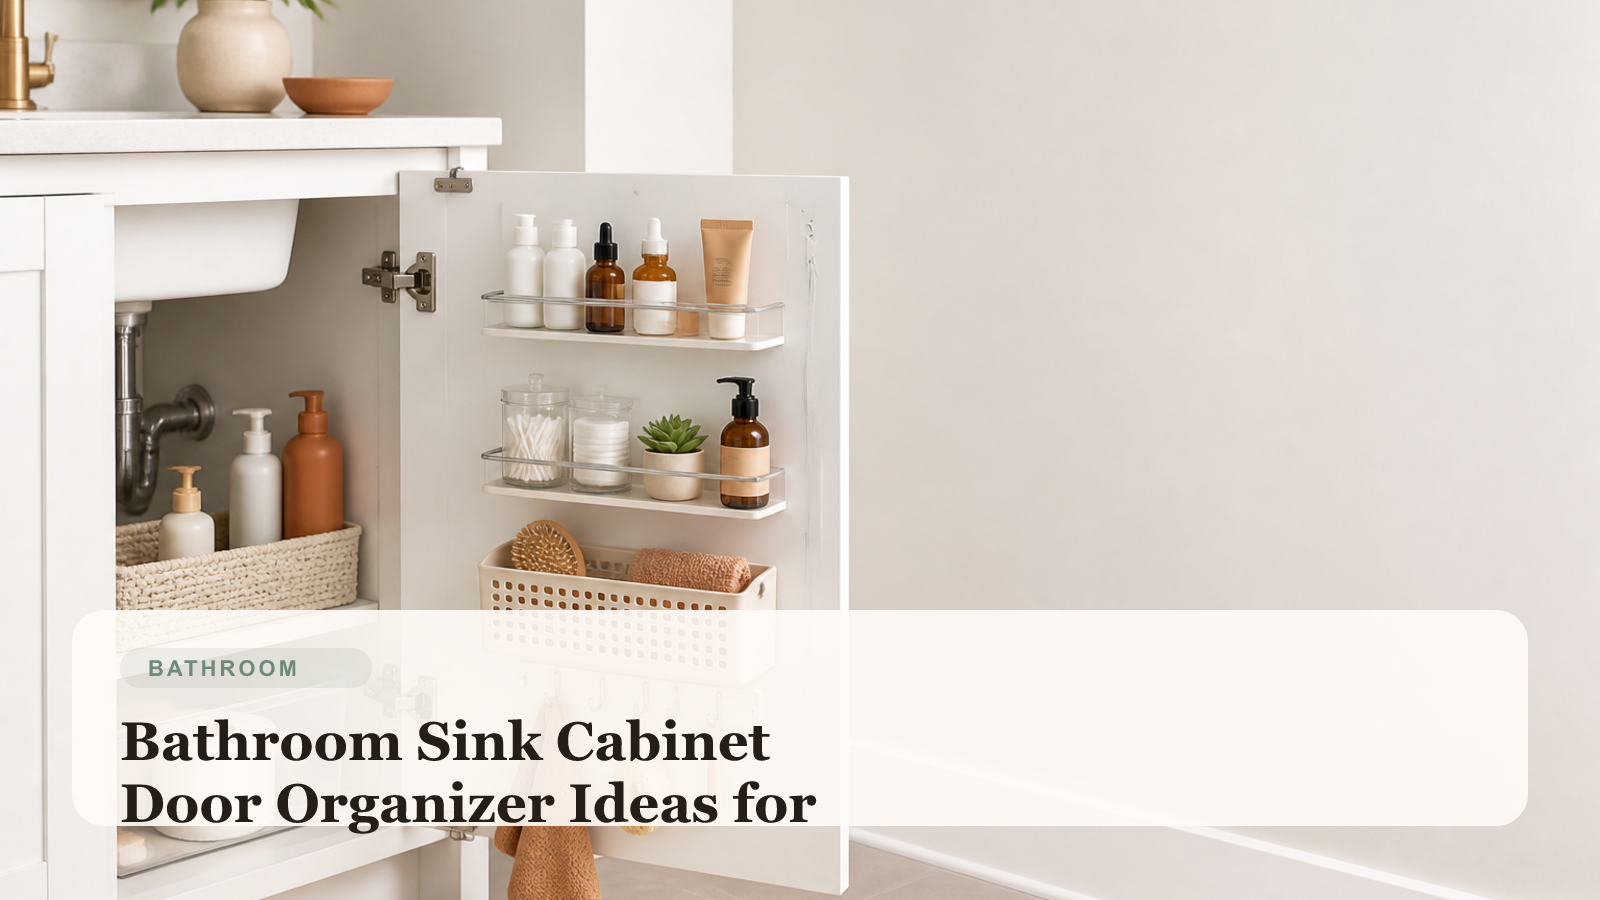
Bathroom Sink Cabinet Door Organizer Ideas for Renters
This guide focuses on one overlooked bathroom zone: how renters can use the inside of a sink cabinet door for smarter small-item storage.
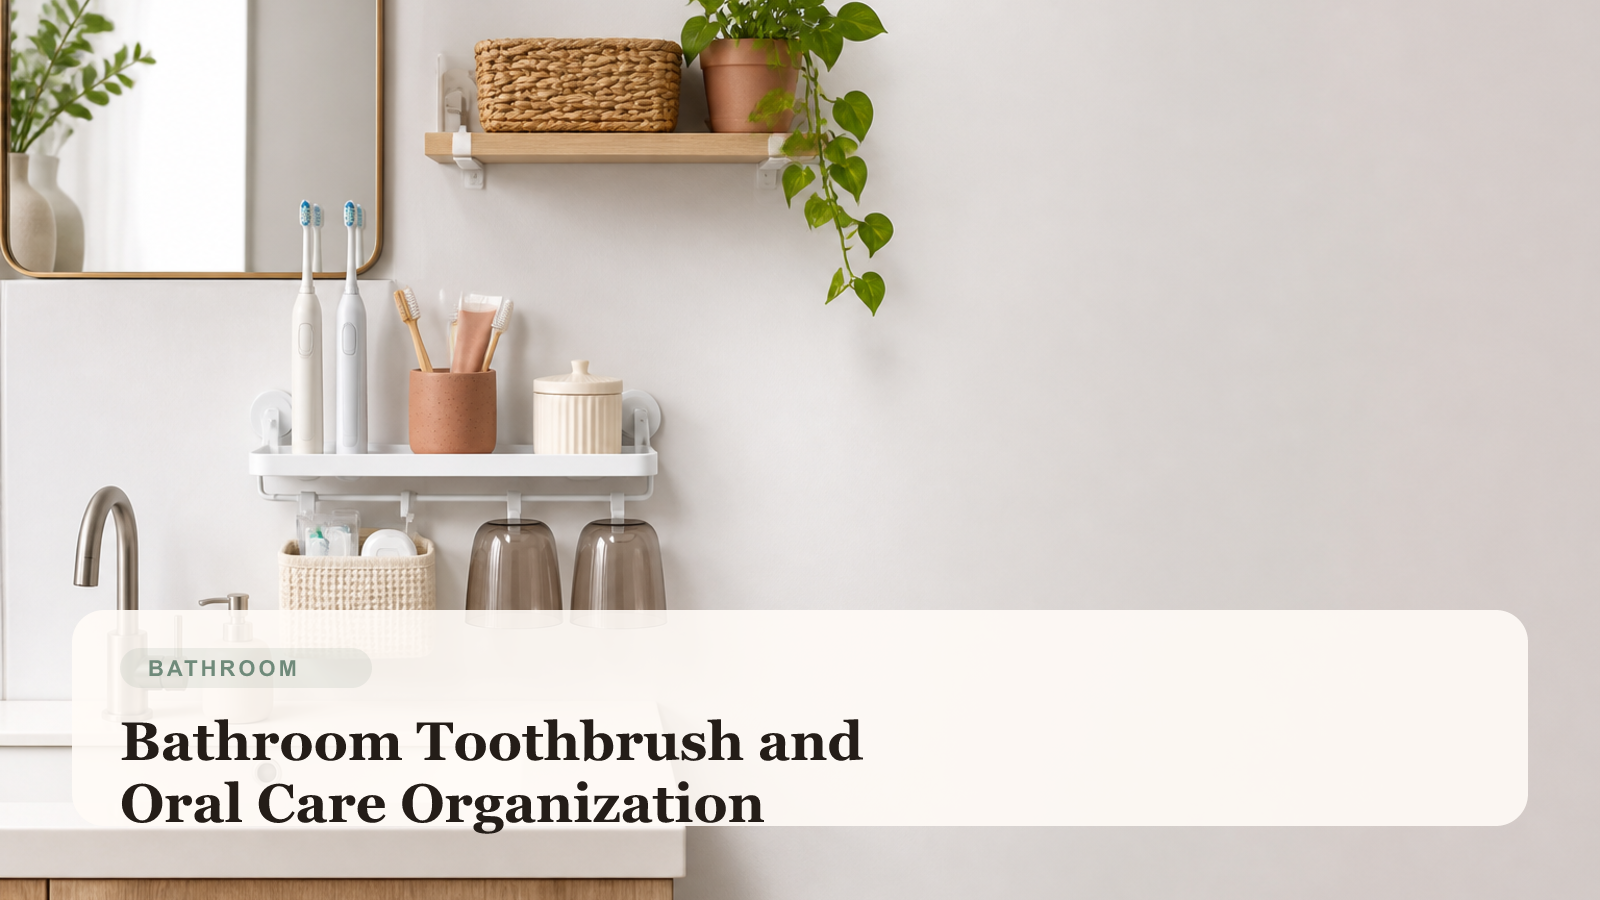
Bathroom Toothbrush and Oral Care Organization Ideas for Renters
This guide focuses on one daily bathroom category: how renters can keep toothbrushes, toothpaste, floss, and oral care refills organized without cluttering the sink.
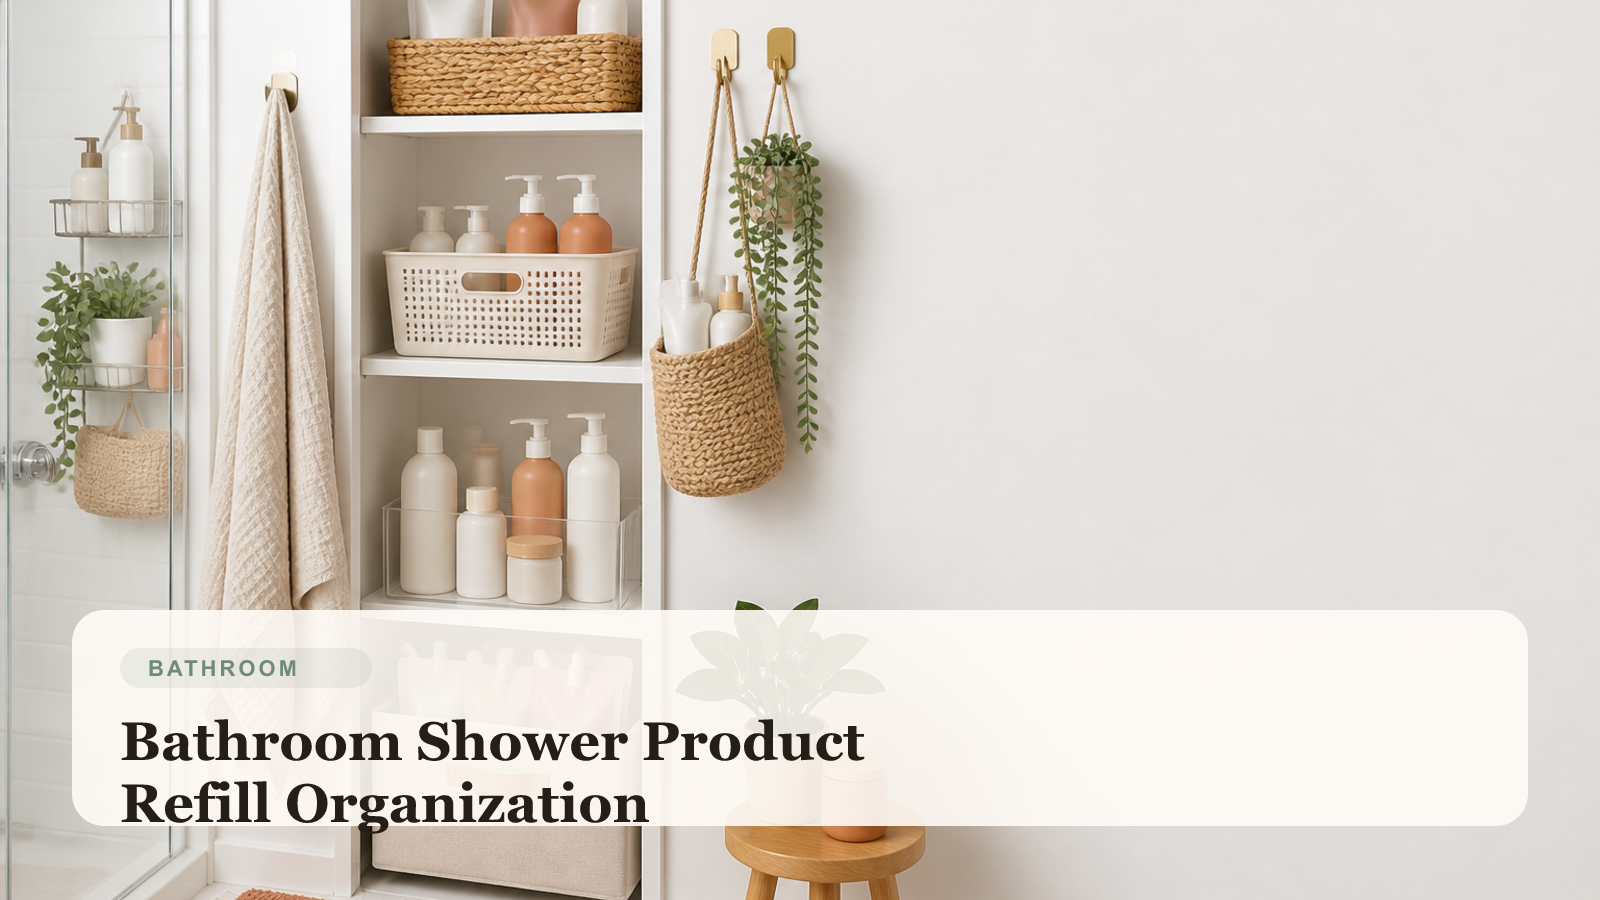
Bathroom Shower Product Refill Organization Ideas for Renters
This guide focuses on one specific bathroom problem: how renters can store backup shower products neatly without letting extras spread into every storage zone.
Editorial note
TidyHaven guides are written for practical, renter-aware small-space living. Pages may be updated over time for clarity, freshness, and better real-world usefulness.