
Dorm Desk Organization Ideas That Make Studying Easier
Set up a clutter-free dorm desk with renter-safe organizers, vertical storage, and small-space study zones that make college life easier.
Quick takeaways
- Use vertical and compact storage solutions to maximize limited desk space.
- Incorporate affordable and renter-friendly organizing tools that don’t damage surfaces.
- Create designated zones on your desk for different study activities.
- Maintain organization with simple daily habits tailored to small living spaces.
Start with the Desk You Actually Have
Before buying organizers, measure your dorm desk and look at how you really use it during the week. Many dorm desks are only about 30 inches wide and 18 inches deep, so even one bulky tray or oversized lamp can eat up most of the usable surface. It also helps to separate what truly needs to stay on the desk from what can live nearby. Your laptop, notebook, planner, charger, and one pen cup might deserve daily access, but extra markers, backup cables, and unopened supplies can move into drawers, bins, or a rolling cart.
- Measure desk surface and nearby wall space.
- List frequently used items vs. occasional materials.
- Consider renter restrictions like no drilling or permanent fixtures.
Maximizing Vertical Space with Wall and Desk Accessories
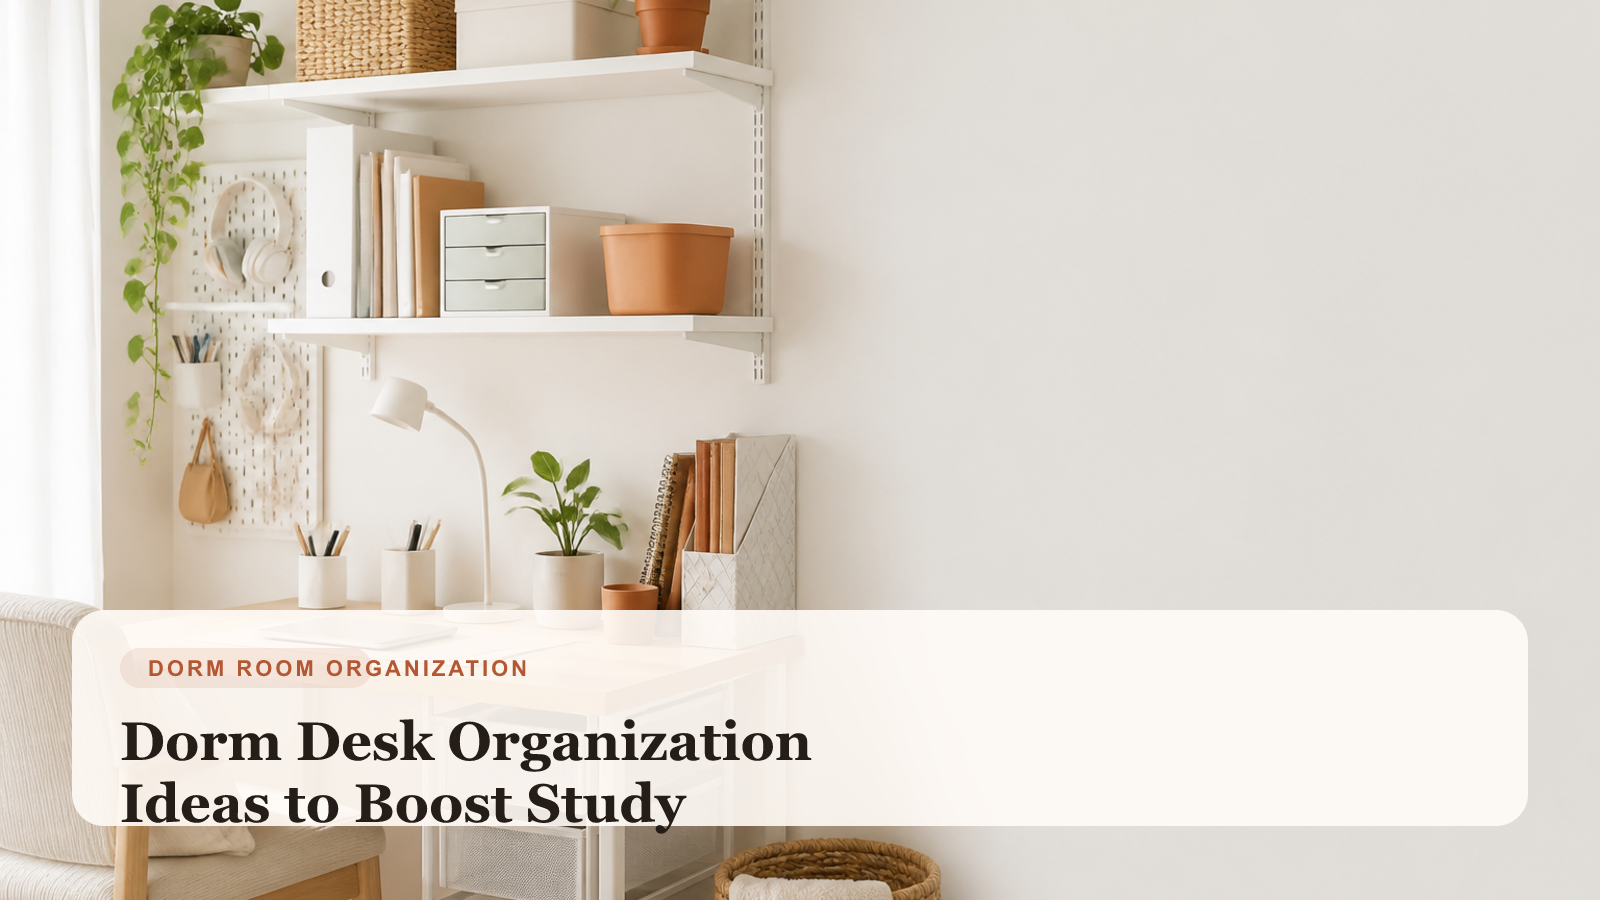
Utilizing vertical space is critical in small dorm rooms where horizontal surface area is limited. Wall-mounted organizers such as corkboards, magnetic strips, or adhesive file holders keep essentials visible and off your desk surface without damaging walls if you choose removable options. Desk hutch organizers or stackable shelves that fit within the 12-15” height limit are affordable and renter-friendly solutions. These provide additional tiers to separate books, writing tools, and electronics without crowding your main working area.
- Use command hooks or removable adhesive strips to avoid wall damage.
- Choose slim profile accessories (less than 3” depth) to avoid overwhelming the desk.
- Stackable shelves can cost between $10-$25, suitable for budget-conscious students.
Smart Drawer and Under-Desk Storage Solutions
If your desk includes drawers, maximize their efficiency by using adjustable dividers or small containers to categorize items like pens, flash drives, cables, and sticky notes. This keeps frequently used tools organized and easy to access without creating clutter on top of the desk. For desks without built-in storage, consider slim rolling carts or under-desk hanging organizers. Look for units no taller than 22” and narrow enough to fit comfortably beneath the desk, offering extra space while preserving legroom.
- Use drawer dividers to separate categories (e.g., writing tools, tech accessories).
- Opt for rolling carts with wheels for easy repositioning (around $20-$40 range).
- Under-desk organizers that attach with clamps avoid damage and save floor space.
Build Clear Zones for Reading, Writing, and Laptop Work
Creating specific zones on your desk for different activities—such as note-taking, reading, and laptop work—helps maintain focus and reduces multitasking clutter. Reserve the central area for computer use, a corner for writing materials, and another spot for open textbooks or planners. Use color-coded trays or mats to visually separate these zones. This method not only organizes your items but also trains your brain to associate each space with a particular task, improving efficiency.
- Clear the desk fully so you can see how much working space you really have.
- Assign one main zone for laptop work, one for writing, and one for books or active class materials.
- Use a tray, mat, or file holder to keep each category contained.
- Leave a small open area free so the desk still feels usable instead of packed wall to wall.
Affordable and Renter-Friendly Storage Hacks
Many dorm rooms restrict drilling or permanent installations, so focus on non-invasive storage options. Command hooks, removable adhesive strips, and tension rods are excellent tools for creating additional storage without damage or residue. Repurposing household items like mason jars for pens, magazine holders for notebooks, or hanging shoe organizers for supplies can be budget-friendly solutions under $15. These make-shift organizers are lightweight, portable, and easy to remove when moving out.
- Use command hooks for hanging headphones, cables, or small baskets.
- Mason jars and cups can organize writing tools and cost around $2-$5 each.
- Magazine holders are ideal for upright notebook storage and usually under $10.
Keep the Desk Functional with Short Reset Habits
An organized desk requires consistent upkeep, especially in small spaces where clutter accumulates quickly. Spend 5 minutes at the end of each study session tidying your workspace, putting supplies back in their designated spots, and clearing any loose papers. Establish weekly deeper cleaning routines, like wiping down surfaces, emptying trash, and reevaluating storage needs. This prevents buildup of unnecessary items and keeps the desk environment conducive to focused study.
- Daily: Return items to zones after use.
- Weekly: Clean desk surface and reorganize any displaced materials.
- Monthly: Review supplies to discard unused or expired items.
Customize the Setup Without Making It Look Busy
No single method fits all dorm desks, so experiment with layouts and tools that suit your specific study habits and room configuration. For example, if natural light is scarce, placing storage away from windows maximizes illumination over your work area. Consider your aesthetic preferences as decor can influence motivation. Incorporate small plants, motivational quotes, or color-coordinated supplies that enhance your desk’s appeal without compromising function or space.
- Test different layouts to find the most comfortable and efficient setup.
- Use light-colored organizers to brighten dark corners.
- Add personal touches that encourage daily desk use without cluttering.
Final thought
Effective dorm desk organization combines smart use of vertical and under-desk spaces, renter-friendly storage solutions, and consistent maintenance habits tailored to small room restrictions. By assessing your needs, creating dedicated study zones, and incorporating affordable, damage-free accessories, you can transform a cramped dorm desk into a productive workspace that supports academic success throughout the school year.
Keep reading
Related guides worth reading next
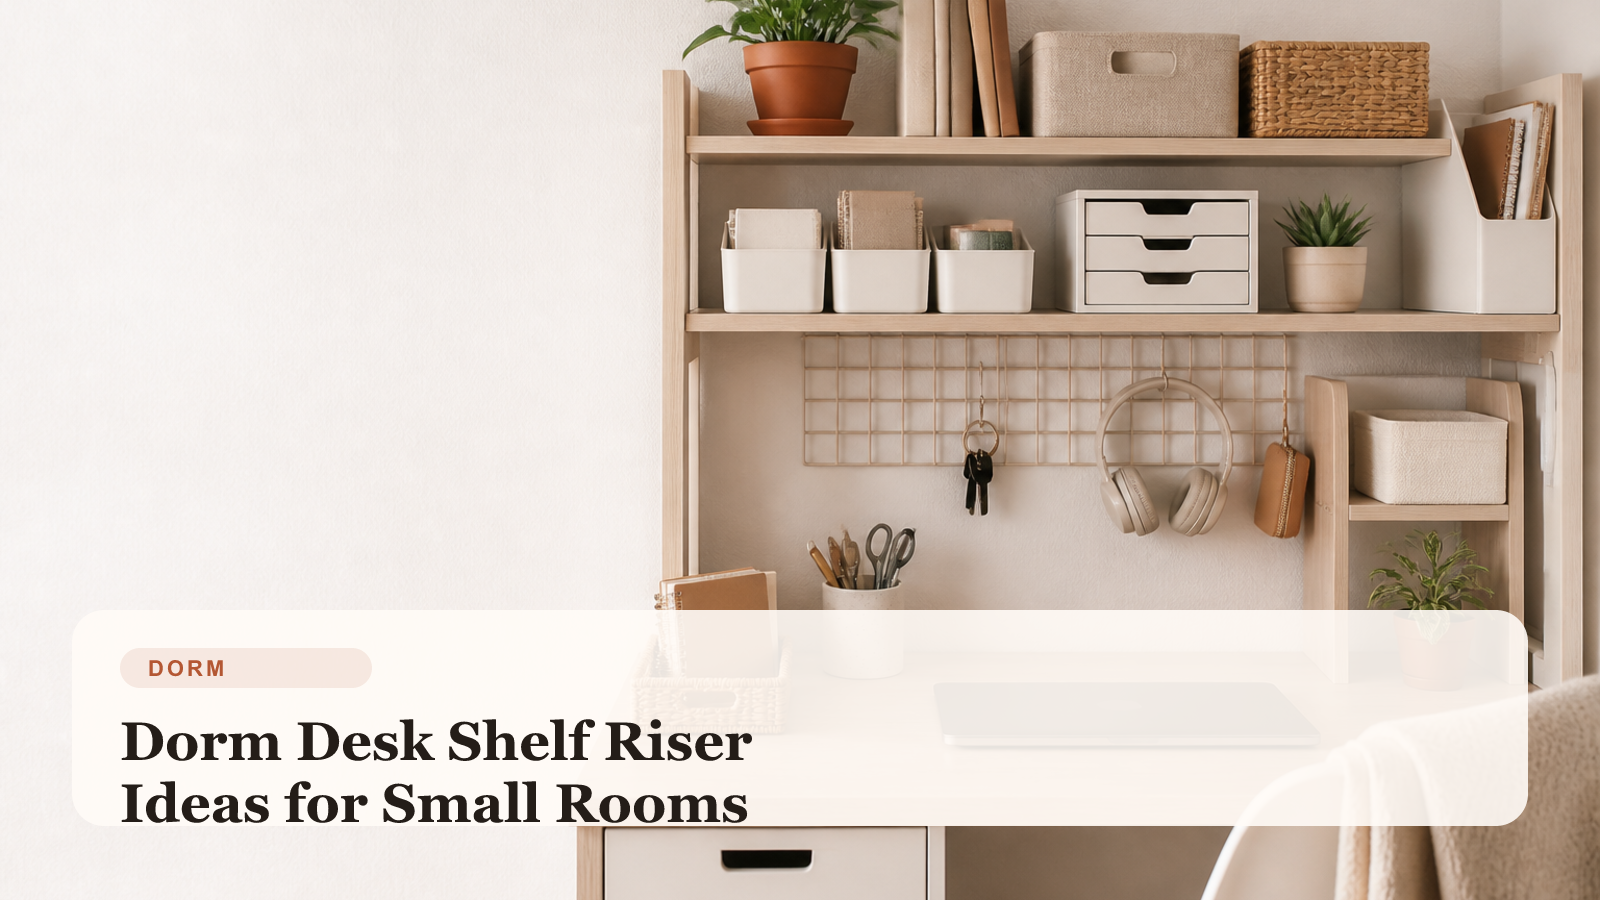
Dorm Desk Shelf Riser Ideas for Small Rooms
This guide focuses on one smart dorm desk upgrade: how a shelf riser can create more storage without turning a tiny study setup into visual clutter.

Dorm Move-In Packing Zone Ideas for Small Rooms
This guide focuses on one stressful dorm moment: how to build a packing zone that keeps move-in supplies, bedding, toiletries, and daily essentials easier to manage.

Dorm Shoe Storage Ideas for Small Rooms
This guide focuses on one common dorm mess: how to organize shoes so the floor stays clearer and the room feels easier to keep tidy.
Editorial note
TidyHaven guides are written for practical, renter-aware small-space living. Pages may be updated over time for clarity, freshness, and better real-world usefulness.