
Dorm Desk Shelf Riser Ideas for Small Rooms
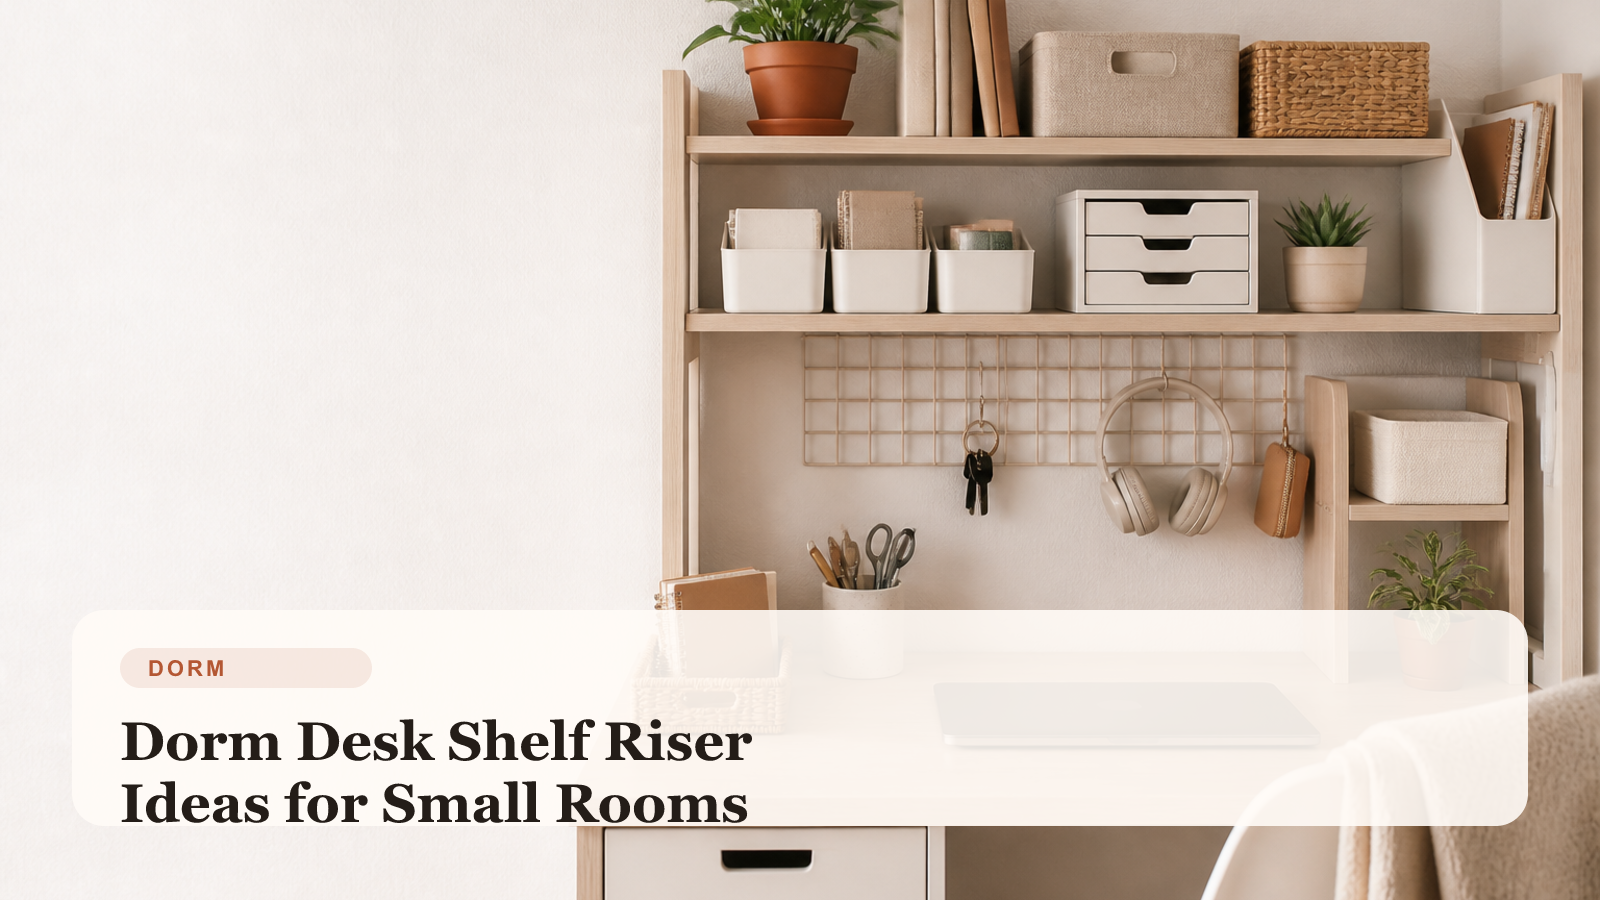
Use a desk shelf riser to add vertical storage, clear the work surface, and make a small dorm study zone feel more usable.
Quick takeaways
- A desk shelf riser adds storage best when it supports a few active categories, not every desk item.
- Vertical desk storage should protect the work surface, not hide it.
- Light, visible categories usually work better on a riser than bulky supplies.
- The best riser setup helps the desk feel clearer and more focused.
A dorm desk can run out of usable space fast. A laptop, notebook, pens, lamp, charger, and a few daily supplies are often enough to make the work surface feel crowded before you even start studying. In a small room, that clutter spreads pressure to the rest of the space because the desk is usually one of the main functional zones in the room.
That is why a shelf riser can help. It creates vertical storage without demanding more floor space and gives a few key categories a defined upper zone. When used well, it makes the desk feel calmer and more usable, not more packed.
This guide focuses on one clear search intent: dorm desk shelf riser ideas for small rooms. The goal is to use a riser in a way that protects the work surface, supports study routines, and keeps the desk from becoming visually overloaded.
Decide what deserves the upper shelf
The biggest mistake with a desk riser is trying to make it hold everything. The upper shelf should carry the items that benefit from visibility but do not need to live directly on your main work surface.
Good riser items often include:
- one pen cup
- a small planner or notepad
- tissues
- a lamp if the riser design supports it
- one small tray for daily extras
- compact books or notebooks in active rotation
It usually works less well for:
- bulky stacks of papers
- heavy textbooks
- too many decorative items
- random loose clutter
The point is to lift a few useful categories, not to create a second crowded desktop.
Keep the actual work zone open
The best desk riser setup makes the lower surface feel more available, not less. That means the center of the desk should still support:
- laptop space
- writing space
- one open working area
If the riser creates a tunnel full of clutter underneath, it is not really helping. The main desk still needs breathing room to do its job.
Use the space under the riser intentionally
One of the biggest benefits of a shelf riser is the layer it creates underneath. That lower zone can work well for:
- keyboard when not in use
- notebook stack
- slim tray
- current assignment folder
- small tech accessories
This area should stay flatter and simpler than the top. It is a staging layer, not a place to pile random supplies.
Limit the number of categories on top
The riser often works best when it supports only two or three broad categories. For example:
- writing tools
- one planning item
- one compact resource stack
Too many categories up top make the desk feel top-heavy and visually busy. In a dorm, that can make the entire study setup more draining to look at and harder to reset.
Match the riser to your study habits
The best riser setup reflects the way you actually work. Ask:
- do you handwrite often?
- do you need quick access to one or two books?
- do you use a planner daily?
- do cords and small items keep invading your work surface?
The riser should solve your real desk friction, not copy a pretty setup that does not match your routine.
Keep heavy school materials elsewhere when possible
Large textbooks and dense binders can overwhelm a desk riser quickly. If you keep too much weight or bulk on top, the whole system starts feeling crowded.
It often helps to store:
- heavier textbooks on a nearby shelf
- archive papers in a drawer or file section
- backup supplies below the desk or in a side cart
This keeps the riser focused on active-use desk support.
Make cords part of the plan
Desk clutter often returns because of cables. If the riser is helping organize the top of the desk, it also helps to manage:
- charging cables
- lamp cord
- monitor or device cable if used
Simple routing or clips can stop cords from undoing the clean visual effect of the riser.
Reset the riser before it becomes a shelf for leftovers
Risers tend to collect things because they feel like bonus surface area. A short reset helps:
- remove anything that does not belong to the desk routine
- keep only the active notebooks or tools
- return loose papers to a flatter storage zone
- wipe dust from the shelf
- make sure the work area below still feels open
This protects the riser from becoming a clutter ledge.
What to avoid with desk shelf risers
Avoid:
- loading the top shelf with too many categories
- turning the area under the riser into a hidden pile
- storing heavy dense books on a small riser
- using it mostly for decor instead of utility
- losing the open work surface you actually need
The best riser should make the desk feel lighter, not more complex.
Final thought
Dorm desk shelf riser ideas work best when the riser creates one simple extra layer for study support without crowding the actual work area. In a small room, that kind of vertical storage can make the desk feel much more usable. When the upper shelf holds only what helps the routine, the whole study zone becomes easier to manage.
Keep reading
Related guides worth reading next

Dorm Move-In Packing Zone Ideas for Small Rooms
This guide focuses on one stressful dorm moment: how to build a packing zone that keeps move-in supplies, bedding, toiletries, and daily essentials easier to manage.
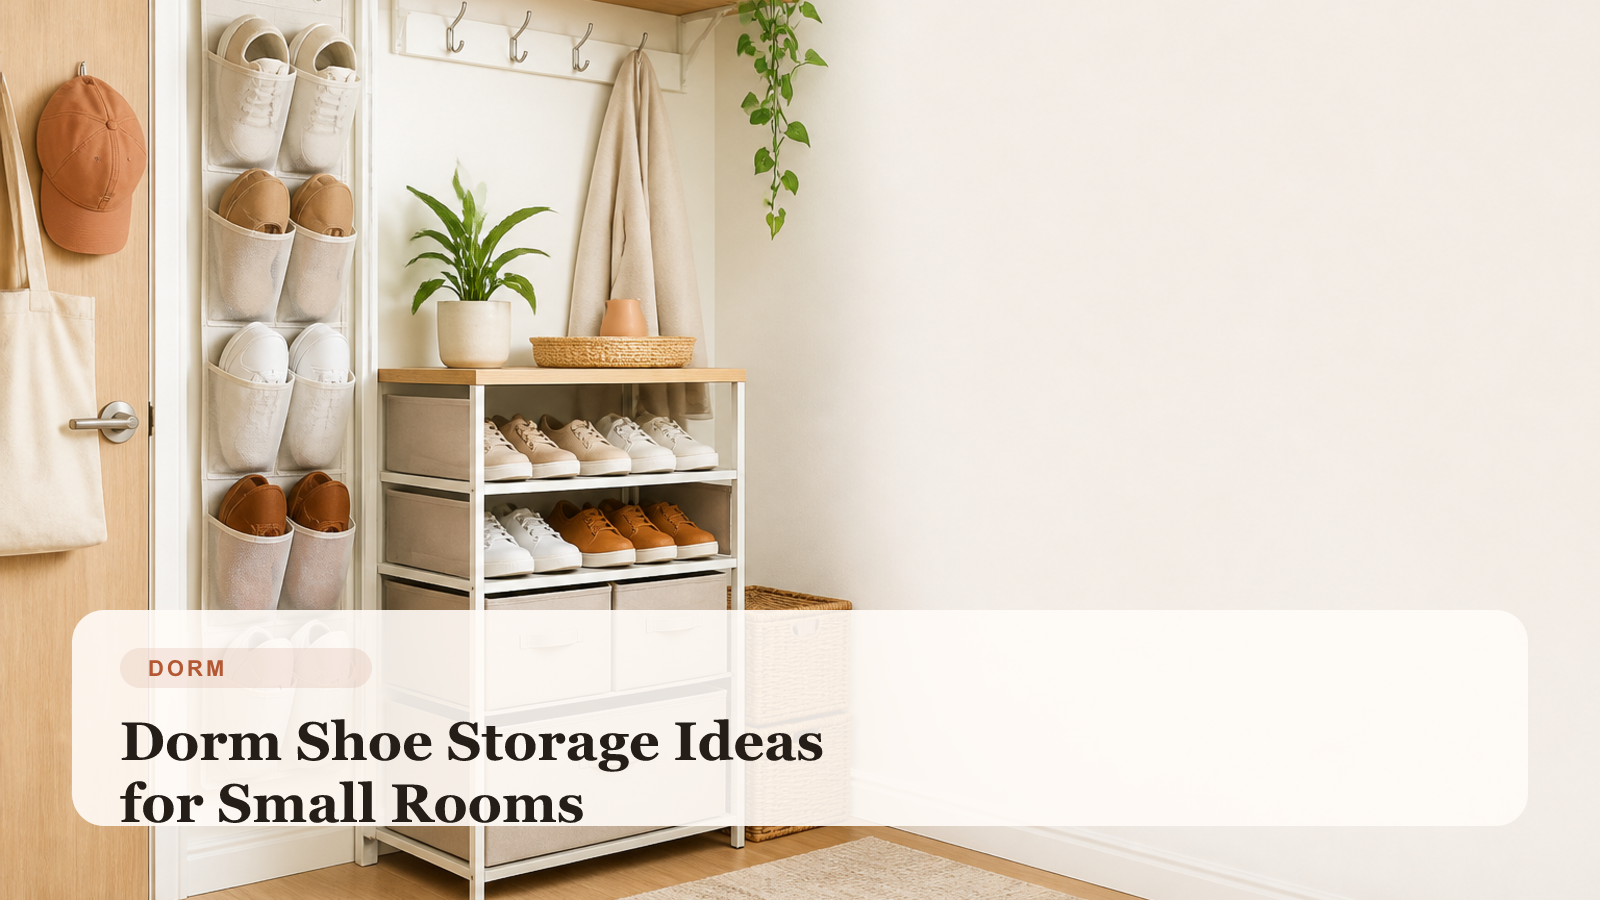
Dorm Shoe Storage Ideas for Small Rooms
This guide focuses on one common dorm mess: how to organize shoes so the floor stays clearer and the room feels easier to keep tidy.
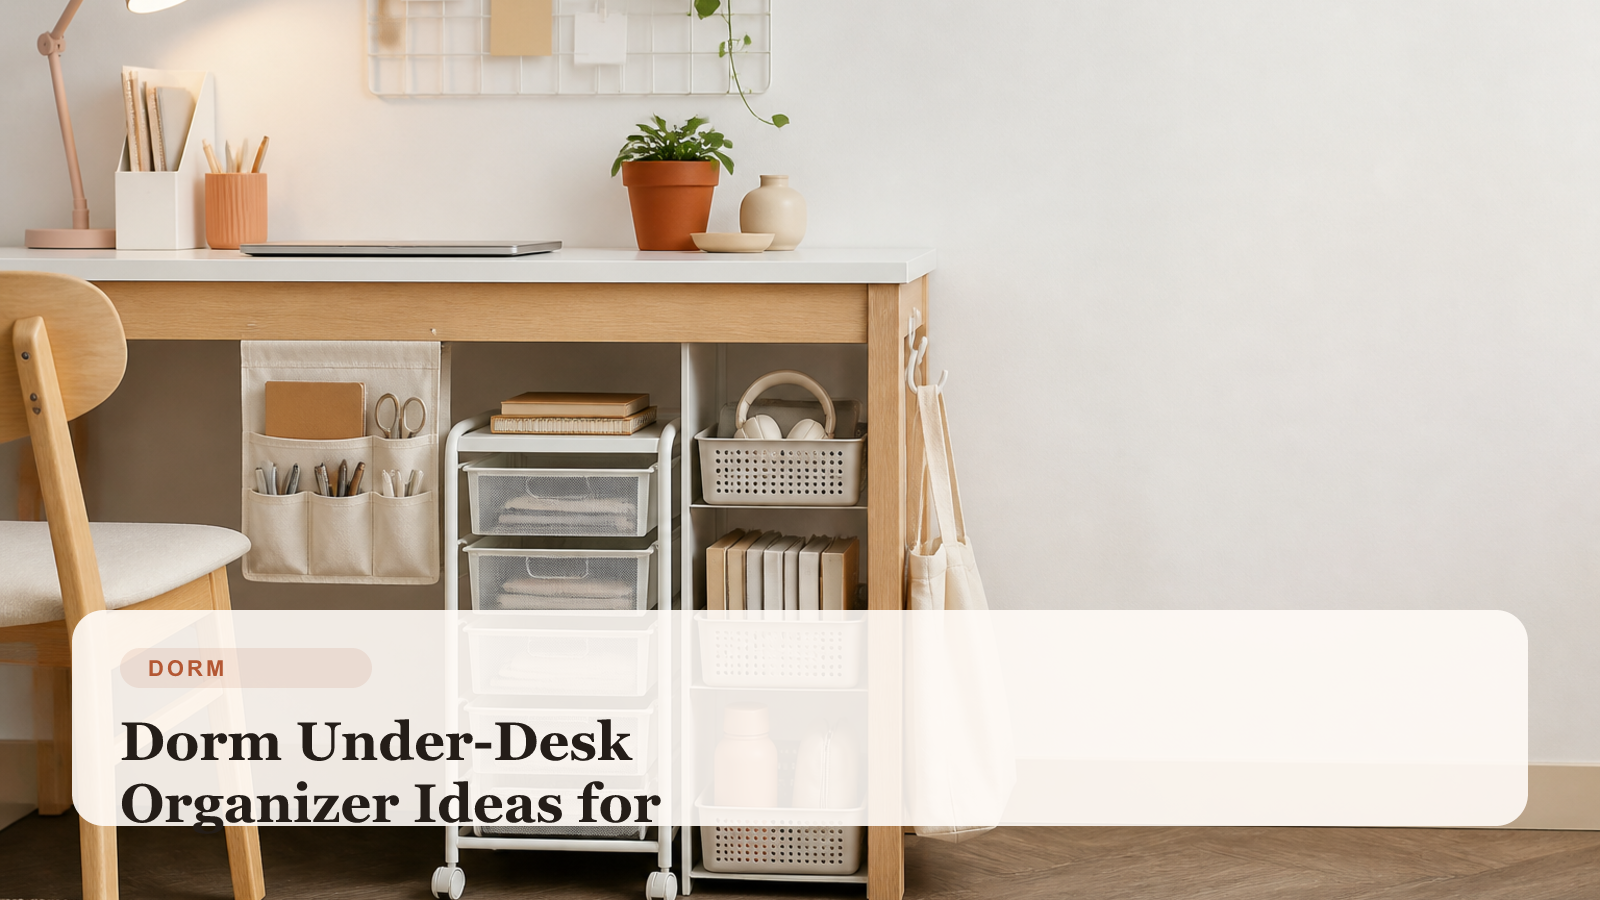
Dorm Under-Desk Organizer Ideas for Small Rooms
This guide focuses on one smart dorm zone: how to use under-desk organizers so study supplies stop spreading across the room.
Editorial note
TidyHaven guides are written for practical, renter-aware small-space living. Pages may be updated over time for clarity, freshness, and better real-world usefulness.